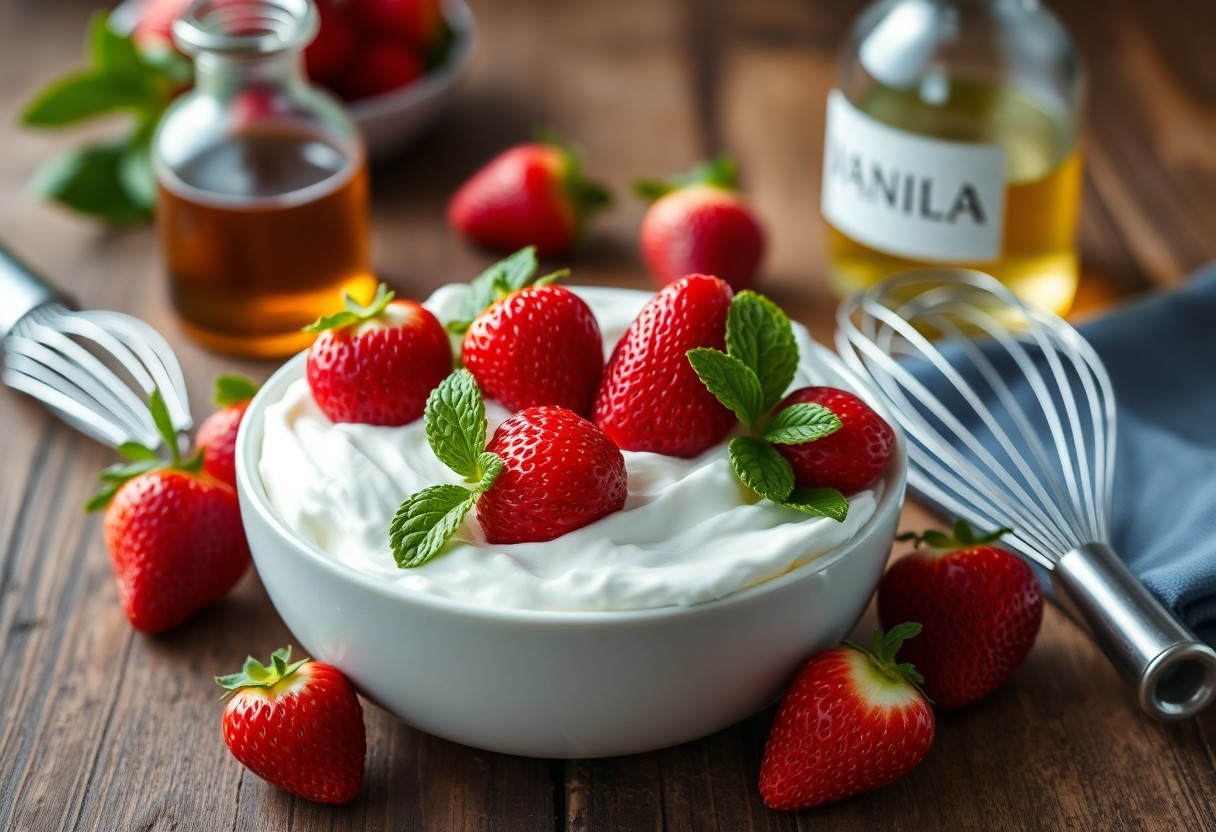
Cream is a delightful addition to many desserts, but it can quickly lose its light and airy texture if not stored properly. If you want to enjoy your homemade whipped cream for days, it’s important to follow some key tips. By using proper techniques and ingredients, you can keep your whipped cream fresh and stable for longer periods without compromising its quality. In this post, you’ll discover simple yet effective ways to extend the life of your whipped cream, ensuring it remains a delicious topping for all your treats.
Key Takeaways:
- Utilize cold ingredients and tools, such as chilled mixing bowls and beaters, to help maintain the texture and stability of your whipped cream.
- Incorporating stabilizers, like gelatin or powdered sugar, can prolong the freshness and prevent the cream from deflating too quickly.
- Store whipped cream in an airtight container in the refrigerator to protect it from absorbing other odors and to keep it light and fluffy.
Essential Ingredients That Make a Difference
Homemade whipped cream benefits greatly from the right choice of ingredients, which can enhance its stability and flavor. Using high-quality cream and appropriate sweeteners can be a game-changer. For the ultimate whipped cream experience, consider incorporating flavorings like vanilla extract, which will add a delightful twist, making your whipped topping not only light and airy but also flavorful.
Choosing the Right Cream
The cream you select has a major impact on the outcome of your whipped cream. Aim for heavy whipping cream that contains at least 36% milkfat. This higher fat content allows the cream to whip up thick and maintain its structure over time, creating that perfect creamy consistency.
The Role of Sweeteners and Stabilizers
Sweeteners and stabilizers elevate your whipped cream’s taste and longevity. Common sweeteners include powdered sugar, which dissolves easily, while alternatives like honey or maple syrup can provide unique flavors. On the other hand, stabilizers like gelatin or cornstarch help maintain whipped cream’s texture, preventing it from deflating too quickly.
Utilizing sweeteners not only enhances flavor but also contributes to the texture and stability of your whipped cream. For instance, powdered sugar is often preferred over granulated sugar due to its finer texture, which integrates seamlessly without graininess. Meanwhile, stabilizers like gelatin can be dissolved in a bit of water and added to your cream, creating a hold that can withstand warmer temperatures. This can extend the whipped cream’s life, allowing it to maintain its voluptuous quality for up to a week when stored correctly. The right combination of sweeteners and stabilizers will ensure your whipped cream remains a delightful addition to any dessert for as long as possible.

Techniques to Achieve Perfect Texture
Getting that perfect texture for your whipped cream is all about employing the right techniques. Start with the right speed—begin on low to incorporate air gently, then progress to medium-high once the cream thickens. This gradual increase allows bigger bubbles to form without collapsing your cream. Additionally, tilt your mixing bowl slightly as you whip, ensuring every bit of cream gets aerated uniformly. The result? A light and airy whipped cream that holds its shape beautifully.
Whipping Moves That Maximize Volume
To maximize volume while whipping, use quick, circular motions. This action introduces more air into the cream, leading to a fluffier texture. Keep your whisk or beaters at an angle to allow the cream to move smoothly around the bowl. If using an electric mixer, alternate between different speeds to achieve the desired consistency without over-whipping.
The Optimal Temperature for Success
Temperature plays a critical role in achieving your ideal whipped cream. Aim for your heavy cream to be chilled, around 35°F (2°C). Using cold equipment—such as mixing bowls and beaters—will prevent your cream from warming up too quickly as you whip, which ensures that it holds its shape longer. Warmer cream can lead to a less voluminous, runny texture that just won’t hold up.
| Chilled Cream Temperature | 35°F (2°C) |
| Room Temperature Cream | Above 60°F (16°C) |
Choosing the right temperature is key to a successful whipping process. Cold cream thickens faster and incorporates air more effectively, giving you that light and airy consistency you’re aiming for. If the cream is too warm, you risk having it turn soupy due to the fat particles being unable to trap air bubbles effectively. Keeping everything chilled ensures your whipped cream stays luxurious and fluffy for longer.
| Keep your heavy cream in the refrigerator until ready to use. | Chill your mixing bowls and beaters in the freezer for 10-15 minutes before whipping. |
| Avoid leaving whipped cream out at room temperature for extended periods. | If necessary, place your mixing bowl in a larger bowl filled with ice. |
Clever Storage Solutions for Longevity
Storing whipped cream properly can significantly extend its freshness and maintain that delightful light texture. By employing clever storage solutions, you can enjoy your homemade whipped cream for a week or more without compromising taste or quality. The key lies in how you chill and store this delicious topping, ensuring it remains as delightful as the day you made it.
Best Practices for Refrigeration
Keep your whipped cream in the coldest part of your refrigerator to ensure it stays fresh. Ideally, place it towards the back, where temperatures are more stable. Avoid frequent opening of the fridge door, as this could lead to temperature fluctuations. Using a thermometer to monitor the fridge’s temperature, aiming for around 34°F, helps preserve your whipped cream’s quality longer.
Containers that Preserve Freshness
Selecting the right container for your whipped cream is just as significant as how you refrigerate it. An airtight container is ideal, as it minimizes exposure to air and odors that could affect flavor. BPA-free plastic or glass containers with tight-sealing lids work best. You can also use mason jars, which not only seal well but also allow for easy scoop access, making them perfect for keeping whipped cream fresh and ready for use.
For optimal freshness, consider using containers specifically designed for whipped cream, which typically feature a resealable lid that ensures an airtight seal. Moreover, filling the container only to the top helps reduce the air space within, further preserving the creamy texture. If you have any citrus fruit around, try adding a small piece to your container; it can help absorb any unwanted odors, keeping your whipped cream tasting delicious. With these proactive storage methods, you’ll savor every dollop of your homemade whipped cream for much longer!

Innovations in Whipped Cream Preservation
Innovative techniques are being explored to help your homemade whipped cream stay light and fresh for longer periods. As the culinary landscape evolves, so do the methods for enhancing the longevity of this beloved topping. Whether through new stabilization methods or modern freezing techniques, you can maintain that fluffy texture and flavor while minimizing waste. Staying updated on these advancements can help you enjoy whipped cream at its best, no matter when you decide to indulge.
Exploring Commercial Stabilizers
Commercial stabilizers are gaining attention for their ability to maintain the texture and quality of whipped cream over time. Ingredients like gelatin, cornstarch, and dairy-based products can effectively anchor the whipped cream’s airy structure while preventing separation. By incorporating these stabilizers into your homemade recipes, you ensure that your whipped cream not only lasts longer but also retains its luscious mouthfeel.
The Promise of Freezing Techniques
Freezing techniques offer an exciting solution to preserving whipped cream. By whipping cream to soft peaks and then freezing it in an airtight container, you can enjoy a fresh topping anytime. This method helps solidify the structure of the whipped cream, allowing it to maintain its texture even as it defrosts.
By utilizing freezing techniques, you can create whipped cream in batches and store it for up to a month without compromising its quality. When you’re ready to use it, simply transfer it from the freezer to the refrigerator for gradual defrosting. Avoid using the microwave, as it can lead to unwanted texture changes. This approach allows you to have homemade whipped cream on hand for spontaneous dessert needs, picnics, or celebration gatherings, making every sweet treat an easy indulgence.
Recapping Key Strategies for Whipped Cream Mastery
Essential Techniques for Freshness
Focus on using chilled equipment to whip your cream, as this will yield a fluffier texture. Consider incorporating a small amount of powdered sugar for stability while still allowing for sweetness. If you want to go a step further, using a splash of vanilla extract not only enhances flavor but can also assist in retaining texture. Storing your whipped cream in an airtight container will keep out unwanted air and moisture, further preserving its lightness.
Maximize Longevity with Timing
Aim to make your whipped cream just before serving, but if you must prepare it ahead of time, try to keep it in the refrigerator for no more than three days. Always give it a gentle re-whip if it starts to deflate. Additionally, using stabilized whipped cream methods, such as adding gelatin or cream of tartar, can give you performance and texture that last longer, making your desserts and coffee toppings always look inviting.
Conclusion
On the whole, by choosing the right ingredients, incorporating stabilizers, and storing your homemade whipped cream properly, you can keep it light and fresh for an extended period. Utilizing techniques like whipping at the optimal temperature and avoiding over-whipping will also contribute to a better texture. With these tips in mind, you can enjoy your whipped cream in desserts and beverages, having the confidence that it will remain delightful for days. Take these steps to elevate your homemade whipped cream experience.
FAQ
Q: What ingredients should I use for making homemade whipped cream that lasts longer?
A: To keep your homemade whipped cream light and fresh longer, you should use heavy whipping cream with a high fat content (at least 36%). Adding a stabilizer, such as powdered sugar, cornstarch, or gelatin, can help maintain its structure and freshness. The sugar also sweetens the cream and contributes to the overall taste.
Q: How can I stabilize whipped cream without using commercial products?
A: You can stabilize homemade whipped cream by incorporating natural ingredients. Common methods include mixing in cornstarch or powdered sugar with your cream as you whip it, or dissolving unflavored gelatin in hot water, letting it cool slightly, and then whipping it into your cream. These methods will help your whipped cream hold its shape for a longer period.
Q: Is there a best way to store whipped cream to keep it fresh?
A: To store whipped cream effectively, place it in an airtight container and refrigerate it. It is important to ensure that the container is sealed properly to prevent any odors from the fridge affecting the cream’s flavor. For best results, use the whipped cream within 3-5 days, as it tends to lose its texture with time.
Q: Can I freeze homemade whipped cream? If so, how?
A: Yes, you can freeze homemade whipped cream for later use. To do this, pipe or spoon dollops of whipped cream onto a baking sheet lined with parchment paper and freeze them until solid. Once frozen, transfer the individual portions to an airtight container or freezer bag. Frozen whipped cream can last up to 3 months and can be added directly to desserts while still frozen or thawed in the refrigerator when needed.
Q: What is the best way to re-whip whipped cream that has lost its volume?
A: If your whipped cream has started to lose its volume and has become runny, you can re-whip it gently. Be cautious not to overwhip, as this can lead to butter formation. If it still seems too soft, you might consider adding a bit more powdered sugar or a small amount of gelatin dissolved in water to help regain some stability.
